Last updated
Shaping Sourdough: Boules, Batards, and the Surface Tension That Decides Spring
Shape decides three things: how the loaf rises in the oven, whether the crumb is open or tight, and how cleanly it scores. The whole process — pre-shape, bench rest, final shape — takes 15 minutes and is the most underrated skill in home sourdough.
Why shape matters
The goal of shaping is surface tension — a tight outer skin that traps gas during the final proof and bake. Loose surface tension means the dough relaxes flat in the proofing basket. Excessive tension tears the skin and stops oven spring.
Done right, you can feel the dough resist a finger press but spring back without leaving a mark.
The three stages of shaping
Pre-shape (after bulk)
Tip the bulked dough out, lightly fold it into a round, and rest 15–25 minutes uncovered. The bench rest relaxes the gluten so the final shape is tight without tearing.
Bench rest
Let the pre-shaped round sit on the unfloured counter. The unfloured surface grips the dough and helps build tension during the rest.
Final shape
Flip the dough over (floured side down), fold the four corners into the middle, then roll into a tight cylinder (batard) or pinch into a round (boule). Place seam-down in the proofing basket.
Boule vs batard
A boule is a tight round — best for higher-hydration doughs and dramatic ear scoring. The round shape distributes oven spring evenly and produces a domed crumb.
A batard is an oval — easier to slice, fits sandwich-bread shapes, and shows wheat-stalk patterns beautifully. Use a long, narrow proofing basket (banneton).
The pinch test for surface tension
After final shaping, gently pinch the surface. It should feel taut like a drumhead. If you can stretch the surface easily, re-shape with one more turn. If the surface tears, you over-tightened — wet your hands and let the dough rest 5 minutes before continuing.
Common shape adjustments by hydration
- 65–70 %: firm dough, full pre-shape and final shape technique works.
- 72–75 %: use wet hands; lighter pre-shape; more confident final shape.
- 78 %+: stitch-shape only — fold sides inward without rolling. Avoid bench rest beyond 10 minutes.
Common shaping mistakes
- Skipping the pre-shape. Without it, the final shape will be loose and the loaf flattens during proof.
- Flouring the bench during pre-shape. Flour breaks the grip needed to build tension. Pre-shape on a clean dry surface.
- Tearing the surface. Over-tightening rips the skin. Wet hands and rest 5 min before continuing.
- Long bench rest at high hydration. Beyond 10 min, 78 %+ doughs spread and lose all tension.
Shape troubleshooting
- Loaf flattens during proof. Insufficient tension. Use a tighter final shape; proof in a smaller basket for support.
- Surface tears during shaping. Over-tight. Wet hands; rest the dough 5 min; re-shape gently.
- Loaf rises tall but cracks the side. The seam was on top instead of the bottom of the basket. Place seam-down, score-side up.
- Crumb is gummy near the bottom. Bottom of the loaf was too dense from compressed shaping. Lighter folds, less compression.
Match shape to hydration: the main calculator outputs hydration; this guide tells you which shaping style fits.
Shaping FAQ
15–25 minutes for 65–75 % hydration. 5–10 minutes for 78 %+. The dough should look slightly relaxed but still hold its round.
For low-hydration enriched doughs, yes. For lean sourdough above 70 %, the pre-shape is what makes the final shape possible.
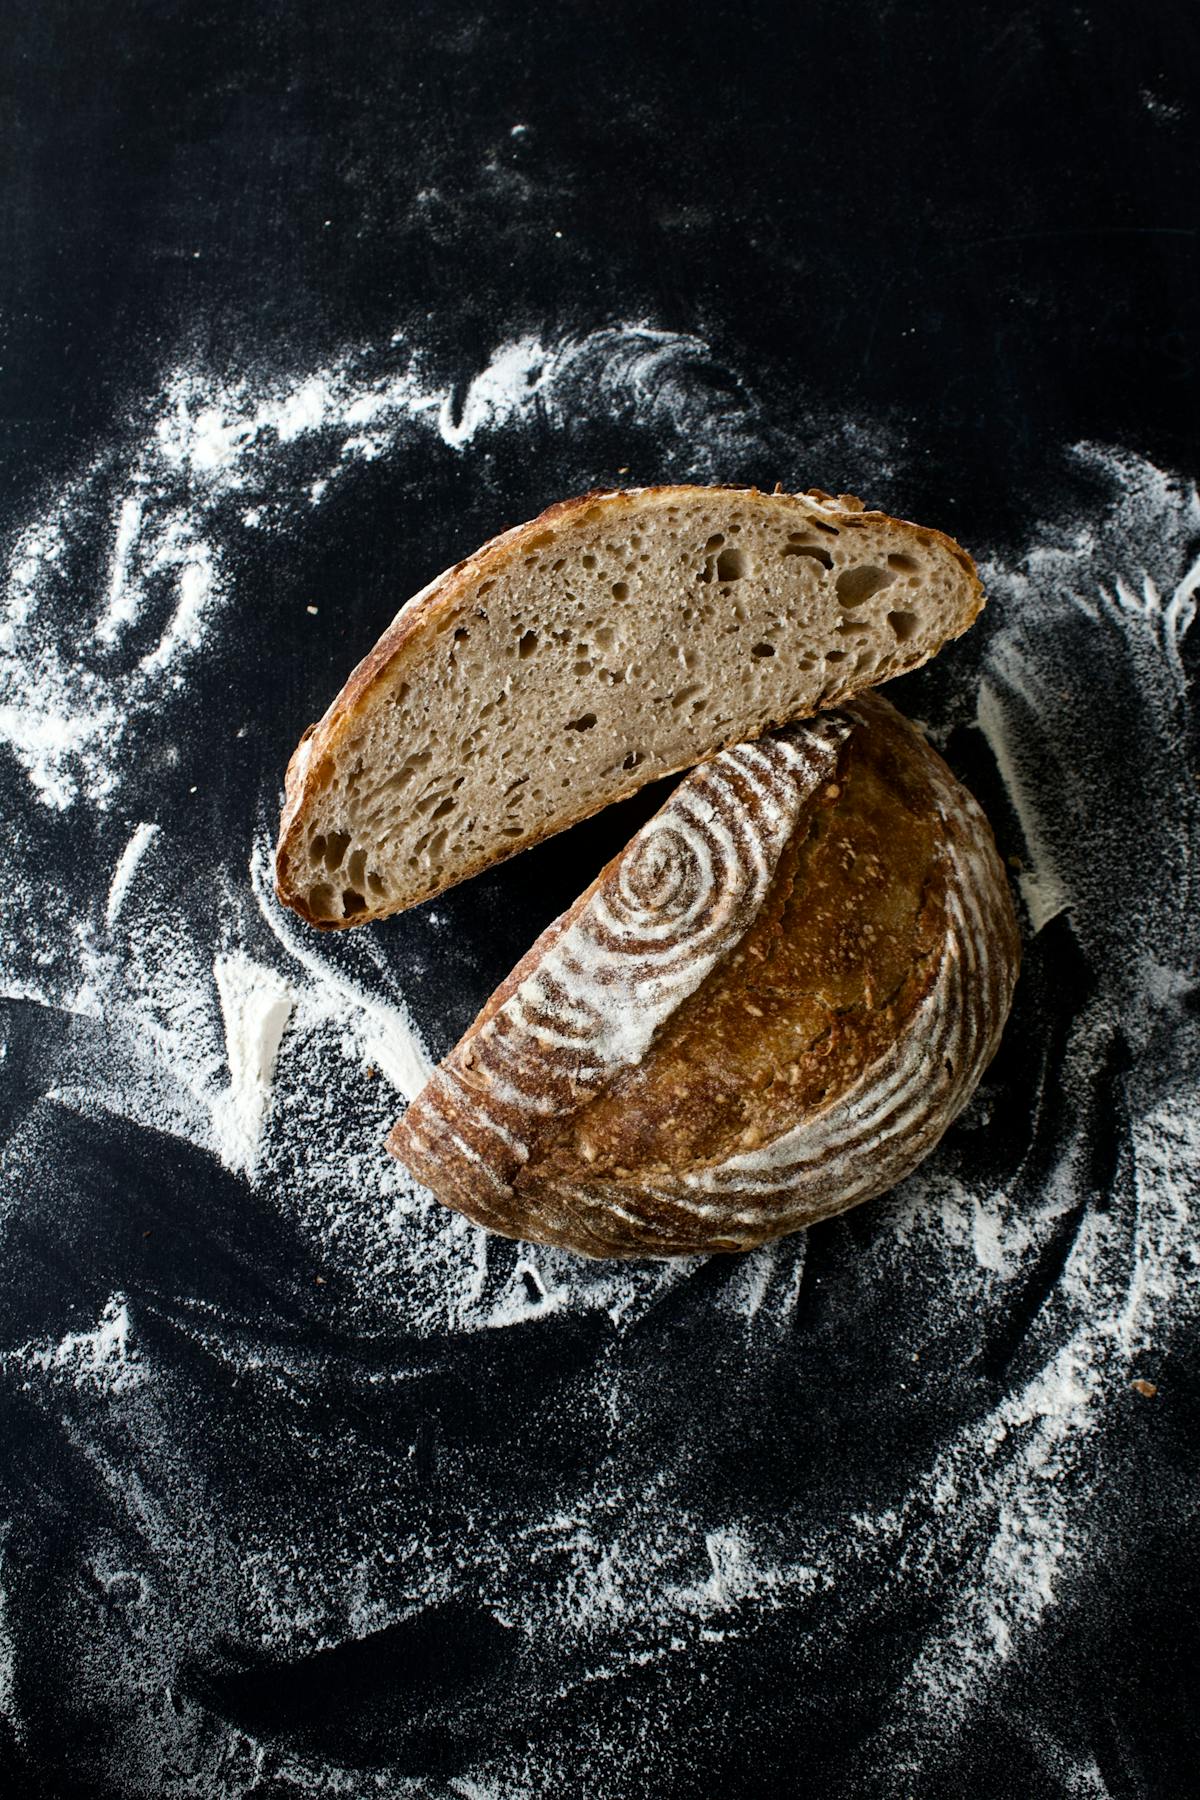
A floured banneton wicks moisture and gives the loaf the classic spiral pattern. A bowl with rice-flour-dusted tea towel works too.
Either the proofing basket is too wide for the dough size, or the final shape was too loose. Use a basket sized to your loaf, and tighten the shape.
No — go directly into the proofing basket. The dough will firm up during the cold proof.
Ciabatta is shaped by handle-not-shape: cut a slab of bulked dough, gently dimple it onto floured cloth, no folding. The slipper shape comes from gravity, not technique.
Related guides
Disclaimer: Baking results vary based on flour type, ambient temperature, starter health, and technique. Use this guide and our sourdough hydration calculator as a starting point, then adjust to your conditions.