Last updated
How to Create a Sourdough Starter from Scratch
Creating a sourdough starter from scratch takes about 5–7 days. You need just flour and water—the wild yeasts and bacteria are already in the air and on the flour.
Day 1: Initial Mix
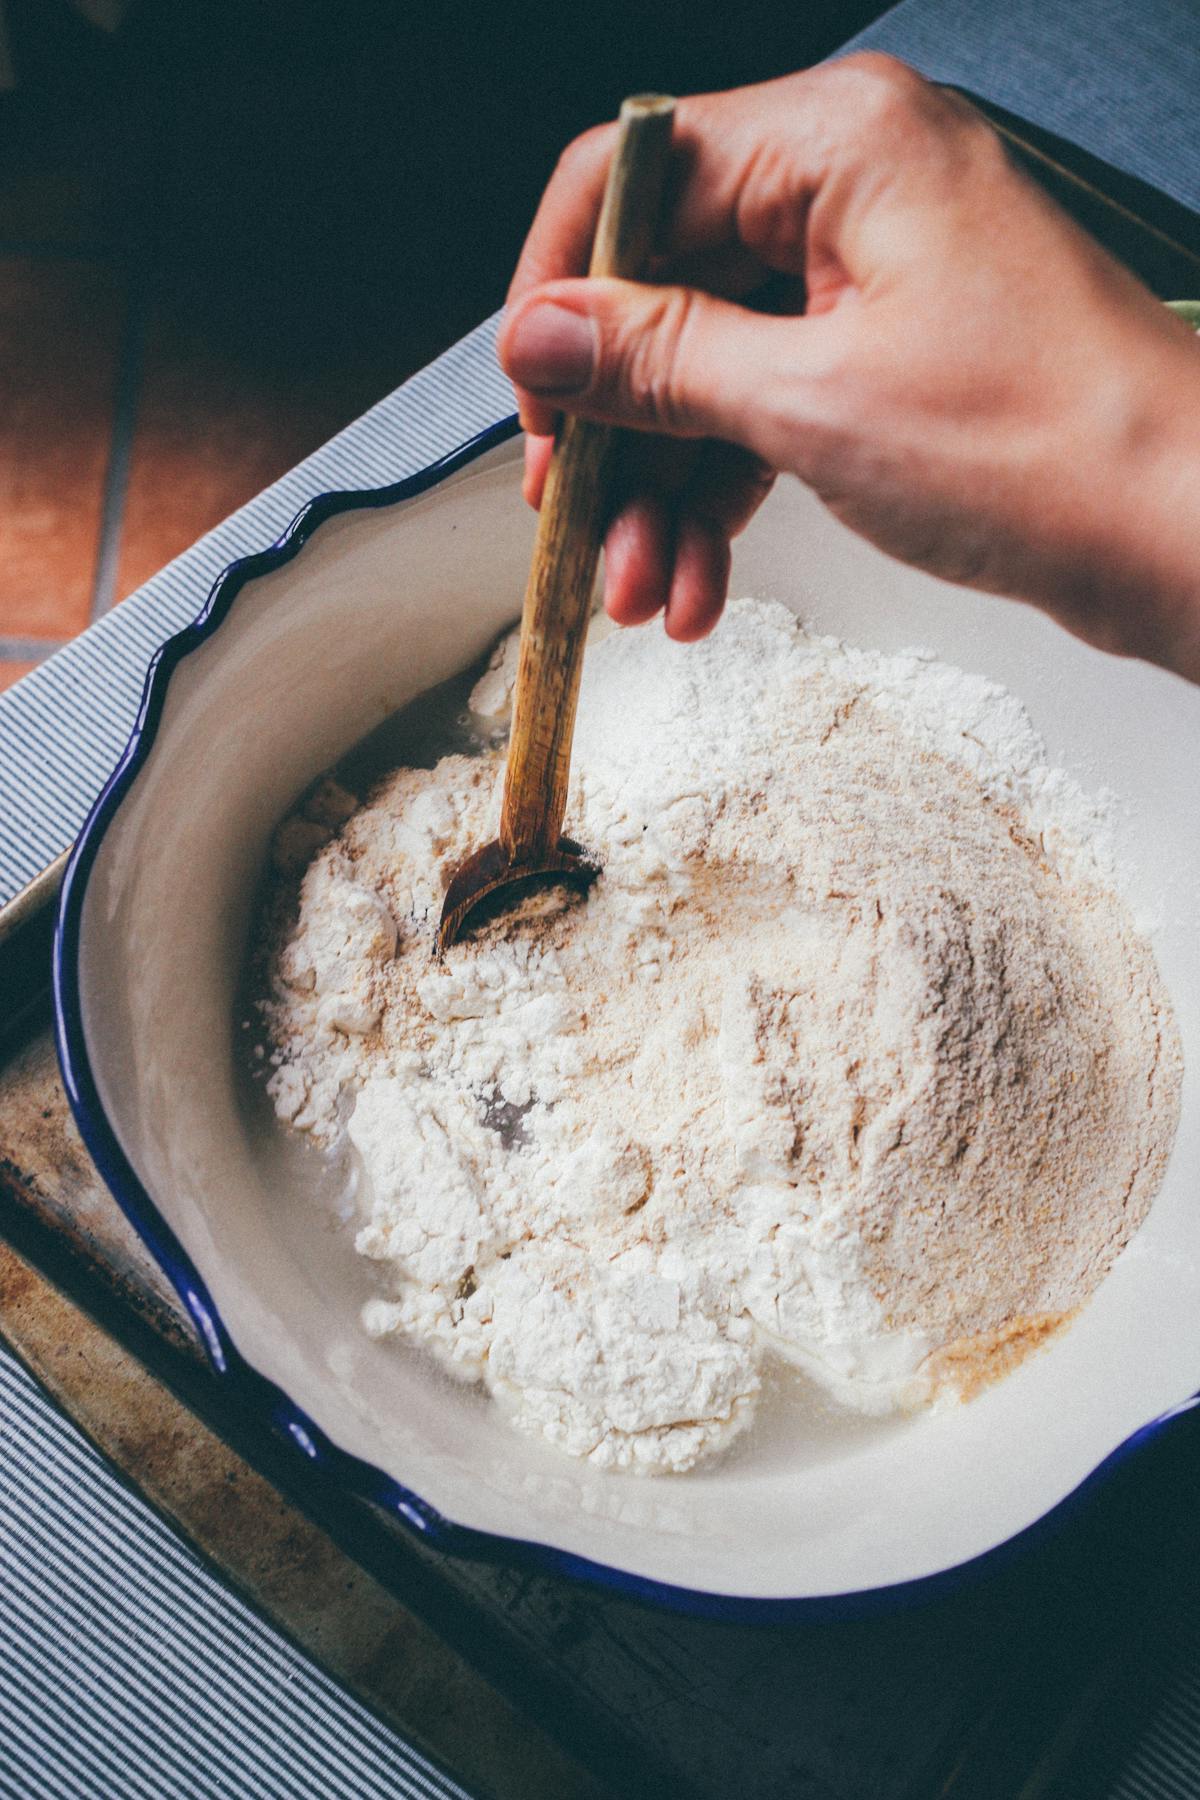
- Mix 50g whole wheat flour (or rye flour) with 50g warm water (about 28–30°C / 82–86°F)
- Stir until no dry flour remains. The mixture should be thick like pancake batter
- Cover loosely (not airtight) and leave at room temperature (20–24°C / 68–75°F) for 24 hours
Days 2–5: Daily Feedings
- Discard half of your starter (about 50g)
- Add 50g bread flour and 50g warm water (1:1:1 ratio)
- Mix well, cover loosely, and leave at room temperature
- You may see bubbles forming and a slightly sour smell—this is normal!
Days 6–7: Signs of Life
- Your starter should double in volume within 4–6 hours after feeding
- Look for lots of bubbles throughout and a domed, rounded top
- It should smell pleasantly tangy, not rotten or off-putting
Pro tip: If your starter isn't doubling after 7 days, try feeding it twice a day, use warmer water (30–32°C), or place it in a slightly warmer spot. Whole grain flours (whole wheat, rye) help kickstart fermentation faster.
Once your starter doubles reliably, use it in our recipe builder to bake your first loaf. See our starter ratio guide for feeding and maintenance.
A wild-yeast starter takes 7–14 days from raw flour to first bake. The day-by-day signs below tell you whether you are ahead of schedule, on track, or stalled — and what to do in each case.
Five mistakes that delay a healthy starter
- Using chlorinated tap water. Chlorine kills wild yeast. Either fill a jar and let it sit uncovered overnight (chlorine off-gases) or use filtered or bottled water for the first week.
- Feeding before the starter peaked. A new starter needs 12–24 hours to show its first real activity. Feeding earlier dilutes the wild yeast you are trying to grow. Wait for visible bubbles before each feed.
- Keeping the jar too cold. Wild yeast is happiest at 24–28 °C. A 19 °C kitchen will double your timeline. Top of the fridge, near (not on) the radiator, or inside a cold oven with the light on works.
- Discarding too aggressively in the first week. You need biomass to keep the colony alive. For days 1–4, do not discard — add a small refresh on top. Begin discarding only once the starter is visibly active.
- Switching flours mid-cycle. A whole-rye start gives you the fastest activity (more wild yeast on the bran). Switch to bread flour only after the starter doubles reliably twice in a row.
Days 1–14: when to worry
- Day 3, lots of bubbles, then nothing. This is the leuconostoc bloom — bacteria, not yeast. Skip a feed, wait 24 hours, then feed again. Real wild-yeast activity follows by day 5–7.
- Day 7, no bubbles at all. Move the jar somewhere warmer, switch to whole-rye flour 50/50 with bread flour, and check the water — if it is cold tap water, swap for filtered.
- Smells like nail polish or vomit. Out-of-balance bacteria. Discard 80 % and feed at 1:5:5 (one part starter to five parts each flour and water) for two consecutive feeds. The smell normalises within 48 hours.
- Hooch (grey liquid) on top. Hungry starter. Pour off the hooch and feed twice a day until the doubling time settles below 8 hours.
Starter FAQ
It must double within 4–8 hours of feeding, smell pleasantly tangy and slightly sweet, and have a domed top with visible bubbles throughout. Use it at peak — when it just starts to dome but has not yet collapsed.
Whole rye or whole wheat for the first 5–7 days because they carry more wild yeast on the bran. Switch to your preferred flour (usually bread flour) once the starter is established.
1:1:1 by weight (e.g. 30 g starter + 30 g flour + 30 g water) is the standard. New starters benefit from 1:2:2 to push more food in front of the colony.
Yes, once it is established. Feed once a week — pull from the fridge, feed at room temperature, let peak (4–8 hours), then return to the fridge.
A sharp vinegar smell means the lactobacilli are dominating because the starter is hungry or kept too cold. Feed twice a day for 2–3 days at 24 °C and the balance shifts back toward yeast.
Indefinitely if maintained. There are documented starters over 100 years old. As long as you keep feeding it, the colony renews itself.
Related guides
Disclaimer: Baking results vary based on flour type, ambient temperature, starter health, and technique. Use this guide and our sourdough hydration calculator as a starting point, then adjust to your conditions.